Steps to Properly Use a Microbial Count Plate for Microbial Analysis in Laboratories
For the detection and measurement of microorganisms in a variety of samples, microbial count plates are crucial instruments. Microbial count plates are essential for maintaining sterility and safety in a variety of settings, including pharmaceuticals, healthcare, food safety, and environmental monitoring. This tutorial will walk you through the process of using a microbial count plate correctly for laboratory microbiological analysis.
Step 1: Select the Appropriate Microbial Count Plate
Choosing the right microbial count plate is the first step in accurate microbial analysis. Different plates are designed for various types of microbes (bacteria, fungi, yeasts, etc.), so it’s essential to select a plate that is compatible with the sample you’re testing. For example, selective media plates are designed to target specific organisms while general-purpose plates provide a broader scope.
Step 2: Prepare the Sample
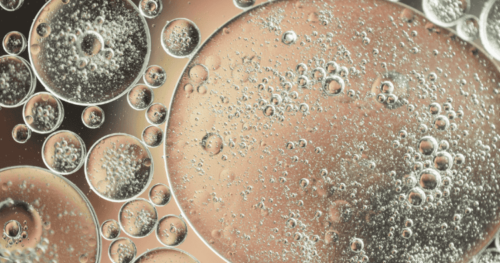
Before testing, ensure that your sample is prepared correctly. This might involve dilution, homogenization, or filtration, depending on the type of sample. For liquid samples, using a syringe filter can help remove larger particles that could interfere with microbial growth. If you’re testing a solid sample, ensure it’s homogenized adequately to get a representative sample.
Step 3: Sterilize the Equipment
To avoid contamination and obtain accurate results, sterilize all tools and equipment. This includes the microbial count plates, Petri dishes, and any other utensils or containers you use. Autoclaving, UV sterilization, or using alcohol wipes are effective methods to sterilize equipment before use.
Step 4: Inoculate the Microbial Count Plate
After preparing the sample, inoculate the microbial count plate. Use a sterile loop, pipette, or spreader to evenly distribute the sample across the surface of the plate. If you’re working with liquid samples, ensure that the liquid is spread evenly across the surface to ensure proper colony growth.
Step 5: Incubate the Plate
Once the plate is inoculated, it must be incubated at the appropriate temperature. The incubation time and temperature vary depending on the type of microorganism you are trying to grow. Typically, most microbial count plates are incubated at 37°C (98.6°F) for 24-48 hours, but you may need to adjust this depending on the type of microorganism.
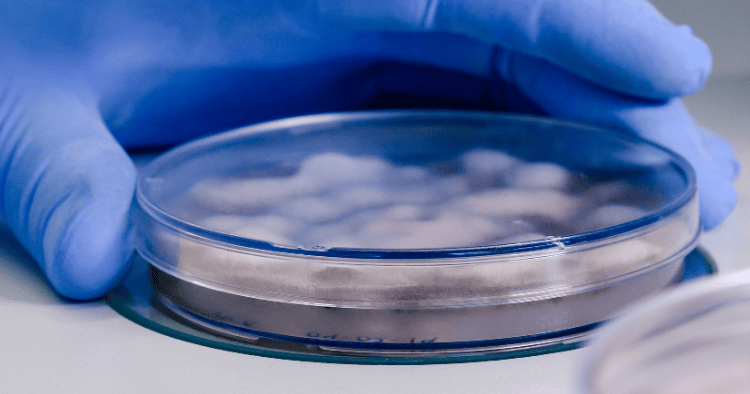
Step 6: Observe and Count Colonies
After incubation, examine the microbial count plate for growth. The microbial colonies will appear as visible spots on the plate. Count the colonies either manually or with an automated colony counter. Ensure that you’re counting colonies of a particular size or type, as required by your analysis.
Step 7: Record the Results
Once you’ve counted the colonies, record the results. The number of colonies can be used to calculate the microbial concentration in your sample. Typically, colony counts are expressed as colony-forming units (CFUs) per milliliter (mL) or gram (g) of the sample.
Step 8: Analyze the Data
The final step involves analyzing the data. Compare your results with regulatory standards or established limits for microbial contamination. This analysis will help you determine if the sample is safe or if corrective actions are necessary.
Conclusion
For microbiological analysis to yield accurate findings, microbial count plates must be used properly. You may guarantee reliable testing and support safety and quality control in a variety of sectors by following these procedures, which include choosing the appropriate plate and evaluating the data. Microbial count plates are a crucial component of any laboratory process, whether you’re testing pharmaceuticals, food safety, or water quality.